
Projects
A project is a named scope. It holds its own environments and credentials. It also gathers the bundles that belong to it. A project does not contain chains, scripts, suites or skills directly: those live in bundles. Setting a project active narrows the whole workspace to the work in front of you.
The active project
Section titled “The active project”The active project is shown as a chip in the app bar. The active project decides what the Project Explorer shows: the project’s bundles, plus every free bundle, together with the probes, chains, scripts, suites and skills inside them. Switch the active project and the tree, along with every probe and bundle picker, refreshes to that project.
A new chain, script, suite or skill lands in the bundle you have selected. With nothing selected it lands in the active project’s Default bundle, so new work belongs to the project you are in. See the scope model for how containment and visibility work.
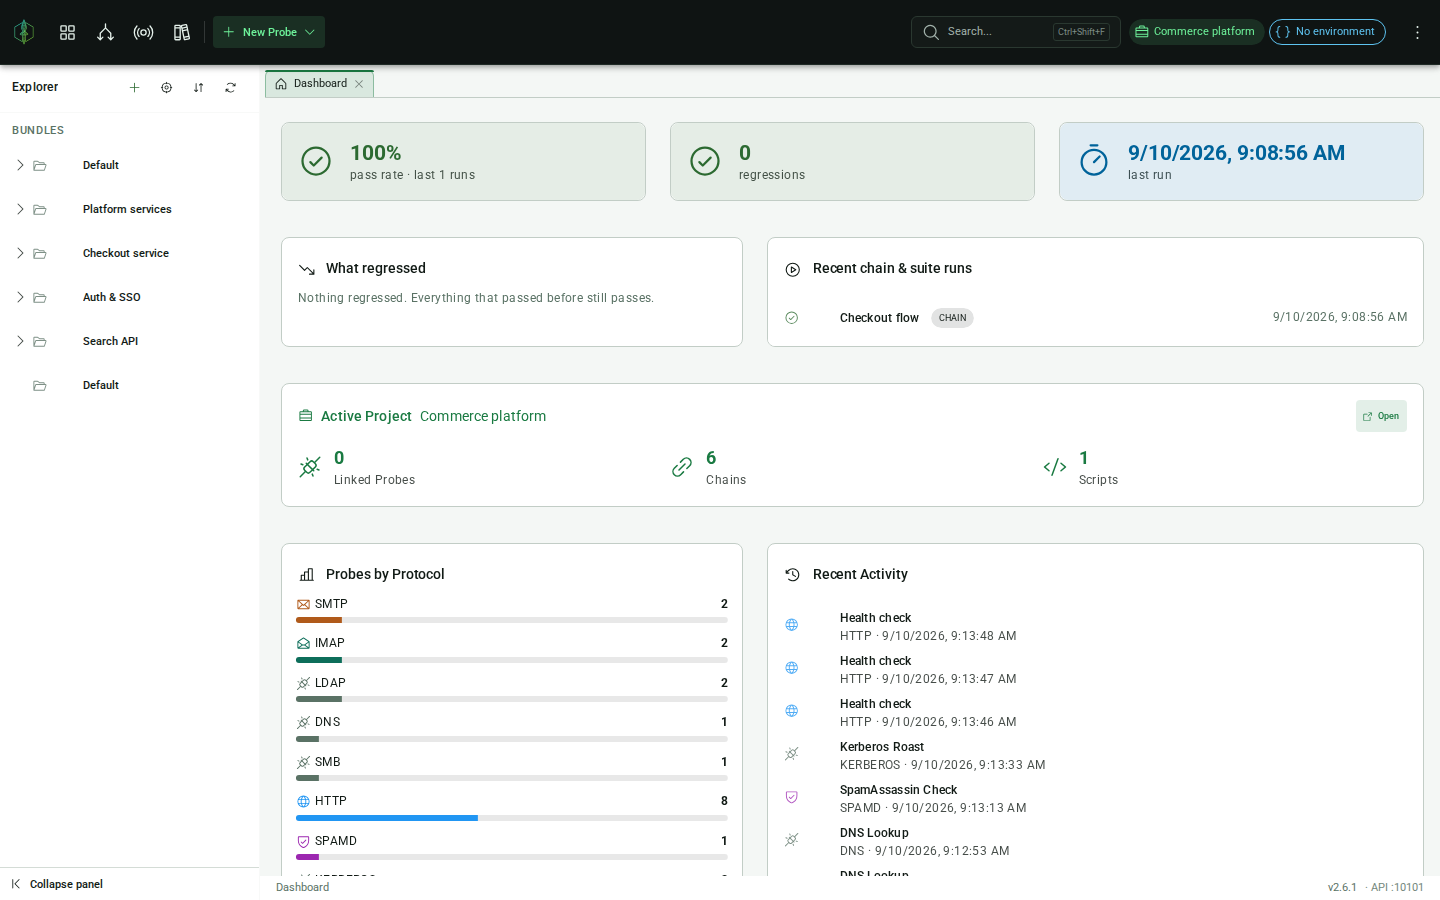
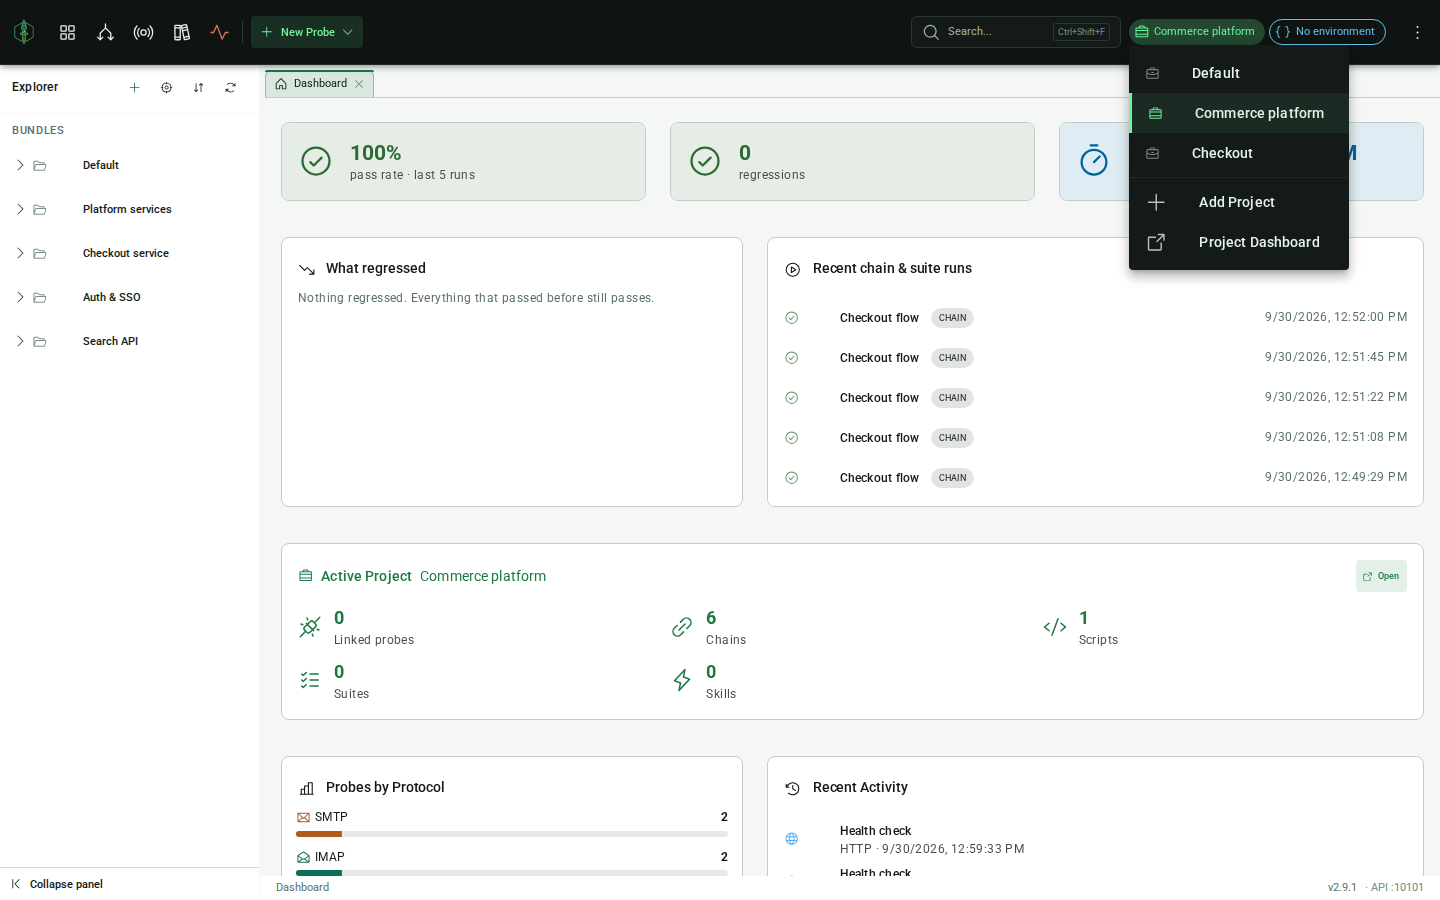
Switching projects
Section titled “Switching projects”Click the project chip in the app bar to open the project picker. It shows all your projects; click any one to make it active. The picker also has shortcuts to add a new project or open the project dashboard.
When you switch to a project, its last-selected environment is restored automatically, including the variable values for that environment.
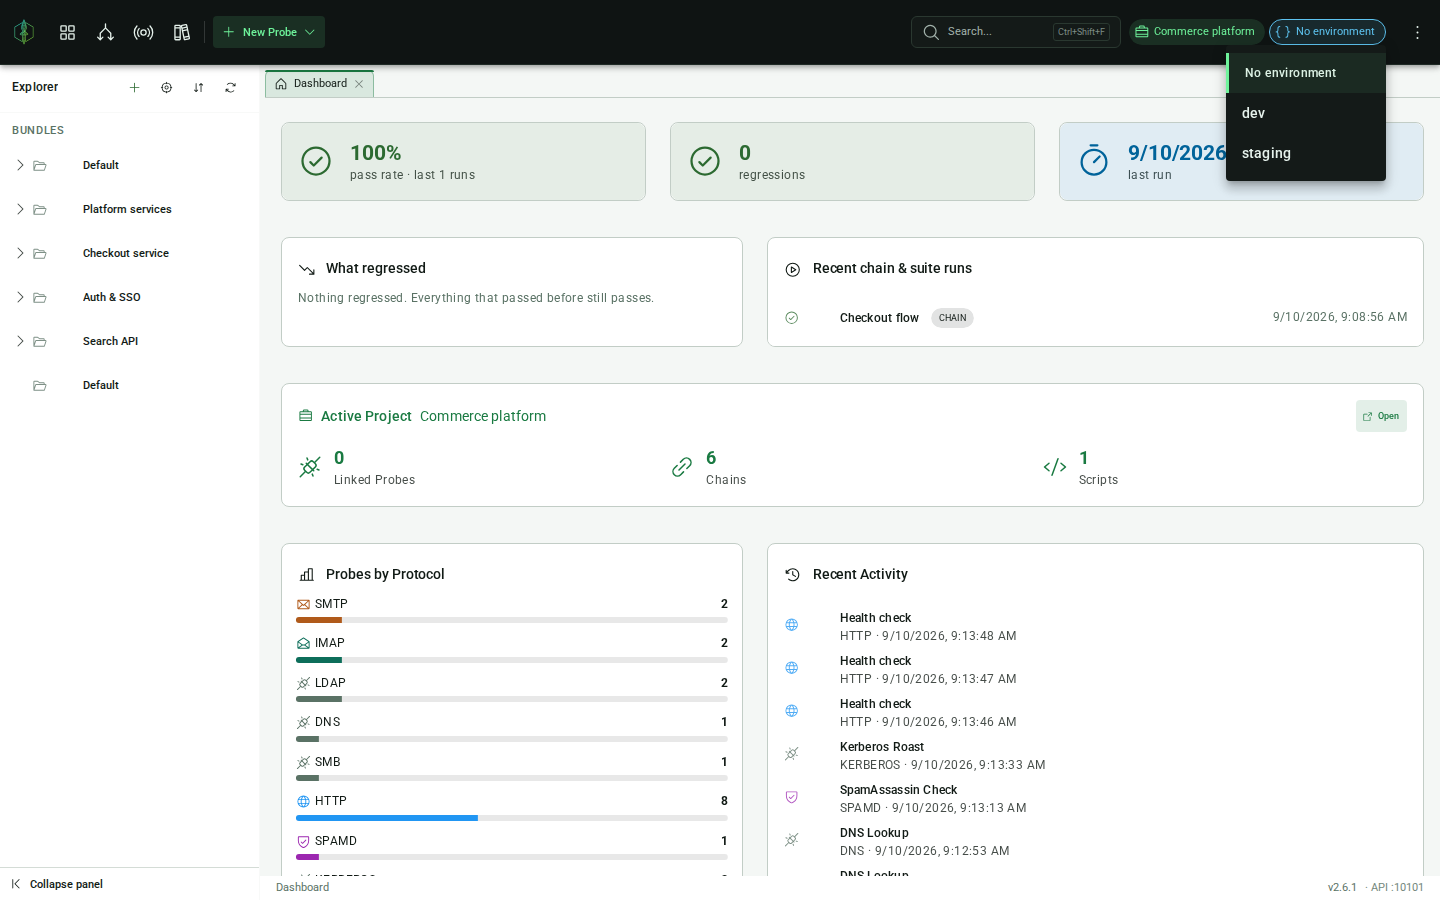
Environments
Section titled “Environments”Each project has its own named environments. Click the environment chip in the app bar (next to the project chip) to switch the active environment for the current project.
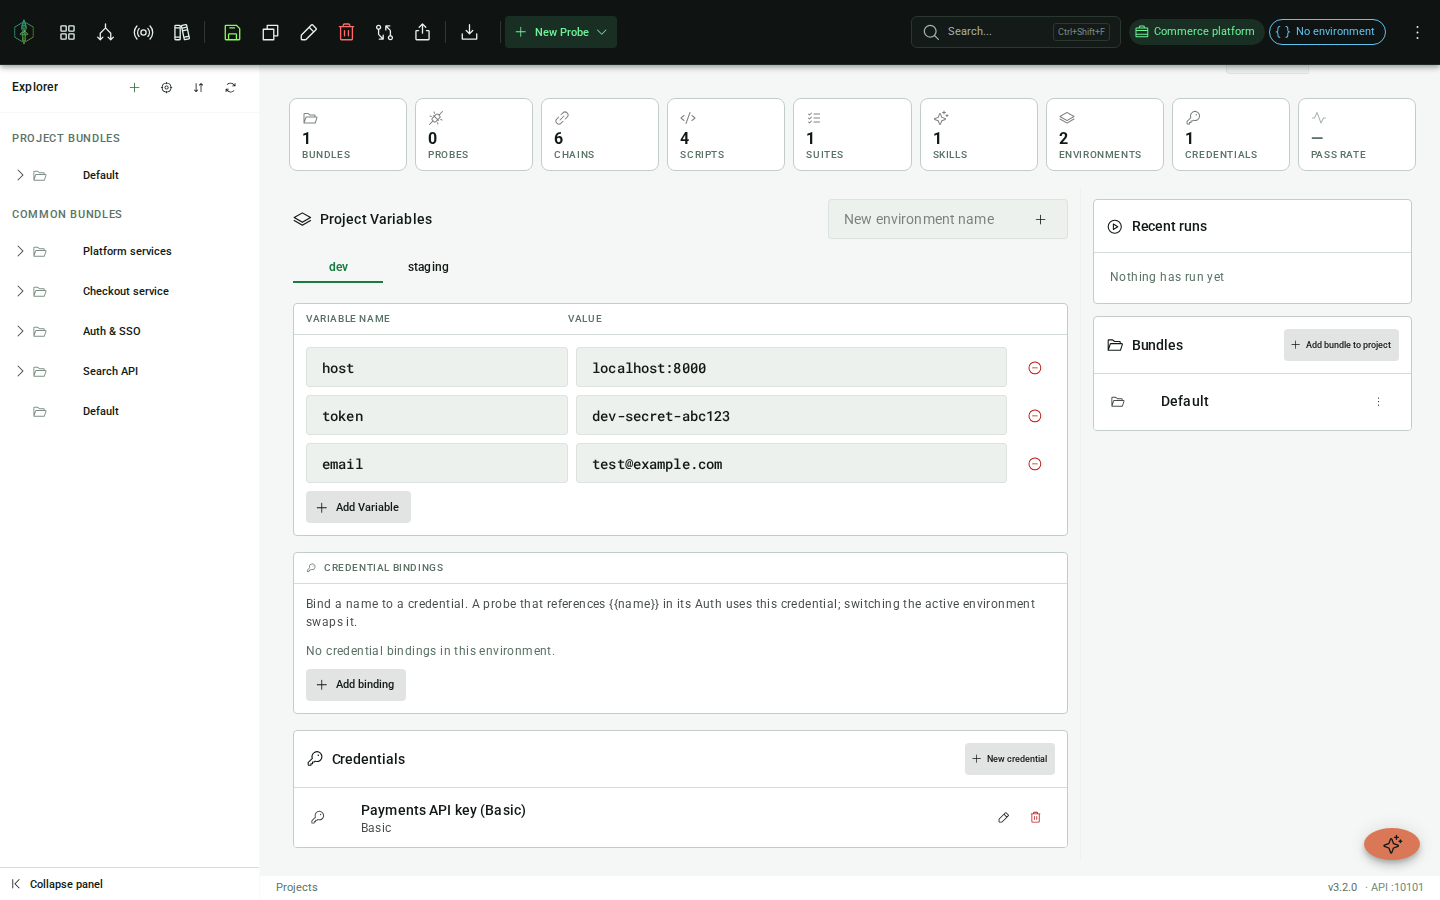
To create or edit environments and their variables, open the project dashboard, where the environment editor is shown inline on the left side of the view. Select an environment’s tab to edit its variables, then click Save Environment (the disk icon in the toolbar) to apply your changes. To add an environment, type a name in the New environment name field at the top and press Enter. The environment is created at once and opens for editing.
See Environments & Variables for full documentation.
Project dashboard
Section titled “Project dashboard”Click Project Dashboard in the project picker (or navigate via the menu) to open the dashboard for the active project. It opens with counts of what the project holds and its pass rate. Below them sit the environment editor, the project’s credentials, its Recent runs and its Bundles section.
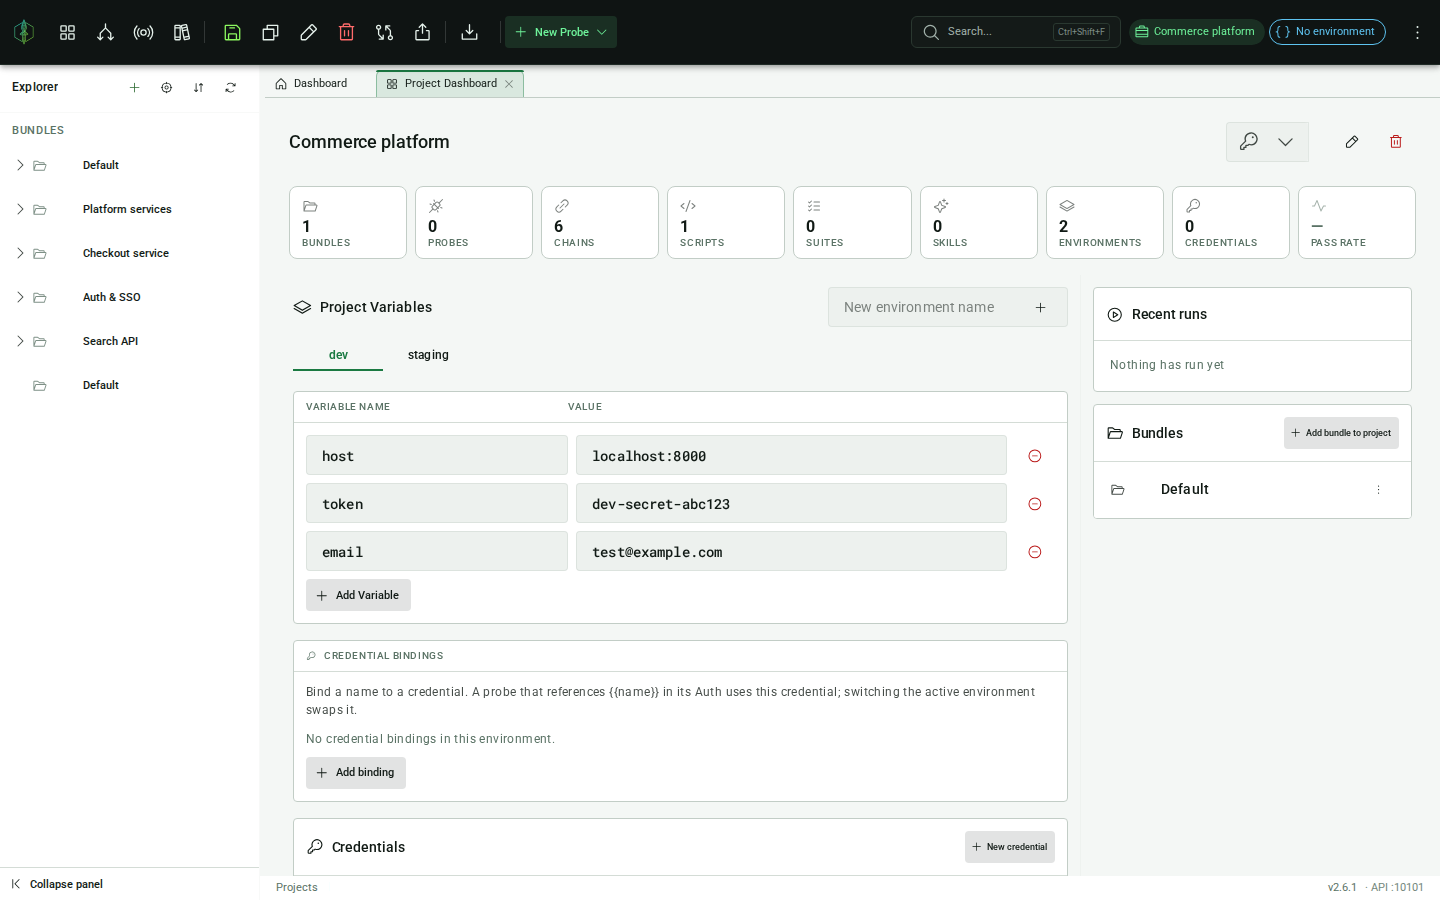
Project bundles
Section titled “Project bundles”The Bundles section lists the bundles linked to this project, with an Add bundle to project menu that offers the free bundles (linked to no project) and links the one you pick. Remove from project in the menu on a bundle’s row unlinks that bundle.
Linking matters because bundles are scoped: a bundle linked to one or more projects only appears in the Project Explorer (and in probe/bundle pickers) when one of those projects is active. A free bundle is always visible. See Bundles → The scope model.
Creating a project
Section titled “Creating a project”Click + Add Project in the project picker in the app bar and enter a name. The new project is set as the active project, ready for you to start building.
On first launch with an empty workspace, a Default project with a Dev environment is created automatically.
Starting a new session
Section titled “Starting a new session”When you open VirtuProbe, the app always starts at the Dashboard and restores the project that was active when you last closed it. The last-selected environment for that project is also restored so variable resolution works immediately without any manual setup.
Renaming and deleting
Section titled “Renaming and deleting”Open the project dashboard and use the pencil icon to rename or the trash icon to delete the active project. Deleting removes the project and its environments. It does not delete any bundles or their contents: probes, chains, scripts, suites and skills all stay in the workspace, in the bundles that held them.